Sunday, May 31, 2020

let's make prayer boxes

Hello! Welcome to the latest in my Let's Make Sunday Series where I'm sharing easy projects to make from things you are likely to already have at home. I'm calling today's project "prayer boxes" because that is how these objects are commonly referred but to me they can be used for anything – from keeping inspiring messages to holding small supplies.


You will need:
An empty mint or tea tin
Glue
Paper
Pencil
Scissors


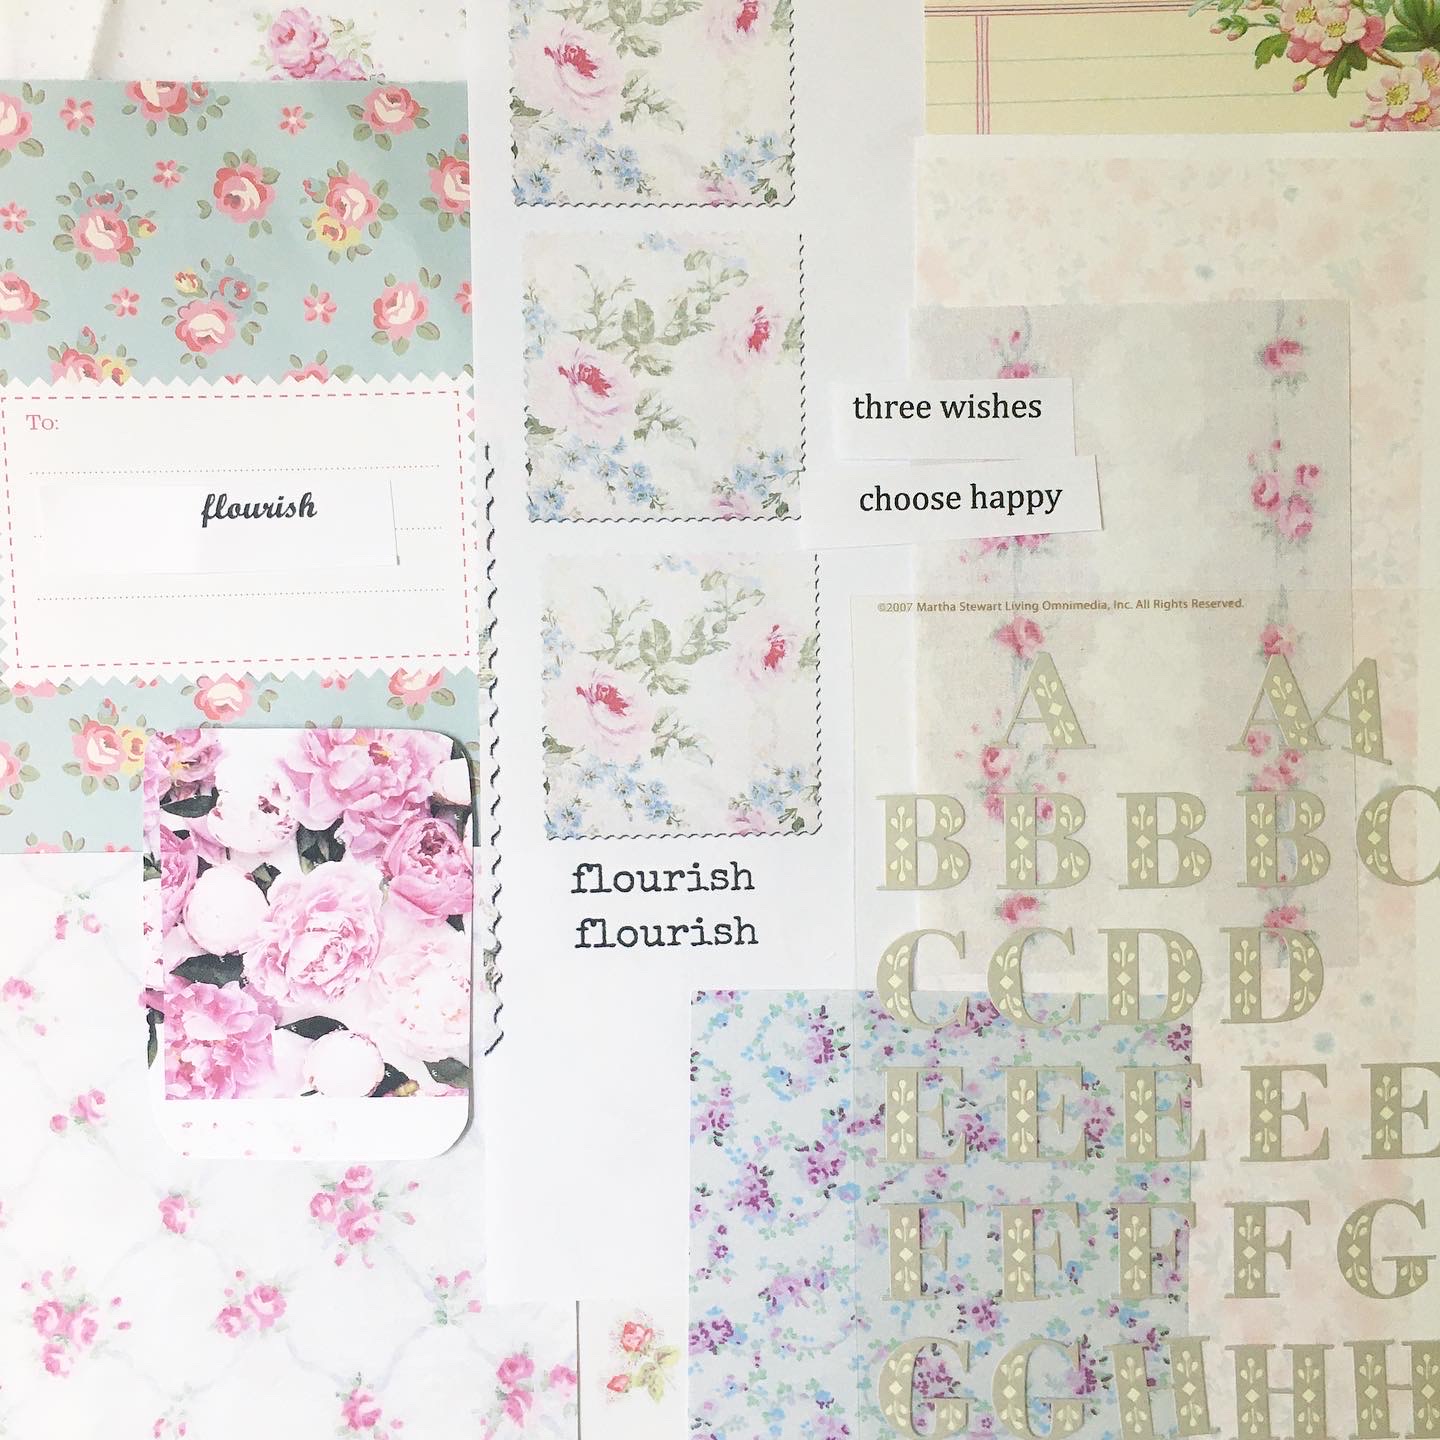
Begin by gathering up favorite paper scraps and printing out an inspiring word or two.


Place tin face-down and trace around the lid lightly with pencil.


If you wish to also cover the sides of the lid with the top cover sheet, leave a small margin from your traced template and make little snips around the corners so that the paper can be glued down to fit.


Cutting the inserts to fit can be tricky. You might want to use a piece of heavier paper to work out the measurements and then use it as a template.

{ It doesn't need to perfect, it's handmade }


Top the decorated tin with a little embellishment if you wish. Over years of tinkering, I've amassed all kinds of bits and bobs, many from the wonderful swaps in which I participated during my early days of blogging. Start your own "whimsy jar" with random buttons and beads, ribbon, broken jewelry, and more.


If you do want to use it as a prayer or wish box, include a small pencil and blank pieces of paper. Your tin is now ready to hold prayers, wishes, or just paper clips. Whatever keeps you inspired!

Happy tinkering + please stay safe at home + well!

xo
elyse

PS
Find me on Instagram at @elyse.press.major


Sunday, May 24, 2020

let's make labeled containers

Hello! Welcome to the latest in my Let's Make Sunday Series where I'm sharing easy projects to make from things you are likely to already have at home. As you probably know by now, I'm a big fan of Bonne Maman preserves – especially strawberry or raspberry {try a tablespoon in a s'more!}. Their jars are as wonderful as their contents – with a squat shape that makes them nice as juice glasses and small vases – and labels that slip off easily with a quick warm soak in suds. This week, let's label 'em!


You will need:
Glue stick
Jar
Paper + printer
Scissors
Word processing program, letter stamps, typewriter


Start by finding a font that you like. I gravitate toward simple packaging with typewriter-style fonts and created this sheet using PicMonkey. Considering how I might use the jars prompted my word choices. 


Next, I cut the words into strips.


I trimmed the strips a bit for each jar and used a swipe of glue stick to affix.


Super cute and full of possibilities!

Happy tinkering + please stay safe at home + well!

xo
elyse

PS

I am honored to have a project featured on the Laura Ashley USA blog! I hope you'll visit and say hello!
Click: On a Roll

Sunday, May 17, 2020

let's hang jars of flowers

Hello! Welcome to the tenth installment of my Let's Make Sunday Series where I'm sharing easy projects to make from things you are likely to already have at home. Today we're using emptied jars again. Why? Because I have so many of them! During this time, I've been eating lots of peanut butter and jelly sandwiches and so emptied preserves jars are easy to come by.


You will need:
Glass jars, bottles
Hanger: torn strips of cotton fabric are shown but you can hang jars using a variety of things: twine, string, fishing line, ribbon, floral wire.

Make a hanger


I like to snip a piece of fabric at the edge to tear into strips. Tie strip securely below the neck of the jar and leave enough at each end to then tie to something to hang.


It is such a beautiful day that I decided to hang the jars outside from an old ladder in my backyard. Next I filled each jar with some water {which I brought outside in guess what? another jar!}.


Then, the foraging began! I picked some lily of the valley...


and buttercups, and snipped some lilacs. First I kept them all separate but then decided to mix things up a bit for each little bouquet.


No ladder in the woods? No problem! Hang from a hook or a knob. Fill with whatever you can find – clovers, faux flowers or vintage millinery, sprigs of fresh herbs.


Enjoy! Happy tinkering + please stay safe at home + well!

xo
elyse

PS
I was just featured in a local paper sharing more simple tips. Click to enlarge and also find on page 40 of The Valley Breeze!


Sunday, May 10, 2020

let's make amethyst apothecary bottles

Hello! Welcome to the ninth installment of my Let's Make Sunday Series where I'm sharing easy projects to make from things you are likely to already have at home. Today we're going to be making empty glass jars resemble antique apothecary bottles. Because I want to match the lilacs in my yard that are just beginning to bloom, I decided to make amethyst colored bottles but you can mix most any color and here's how:


You will need:
Decoupage medium (Mod Podge) or school glue
Food coloring
Glass jars, bottles
Paint brush
Paper plate
Wax paper (optional)

Prep:
I always like to protect my work surface with a sheet of wax paper which is great because it's fairly waterproof and when you're done you can just crunch it up and throw it away or let it dry and use it again.


How to:
On a paper plate put a quarter size drop of decoupage medium, a speck of red and a speck of blue food coloring. Mix together with your paint brush and you should get a deep black raspberry kind of color.


Other color ideas: pure shades like blue; a speck of red to make a rosy pink; specks of yellow and red to make a shade of amber; specks of blue and yellow to make green.


Apply in light even coats to the surface of your jar.


When the glue mixture has dried - it will look like this. If you're not happy with the results, you can mix a new batch of color and apply until you get the shade you like best.


If you're like me, you'll start digging around for all kinds of bottles. Don't forget the spice cabinet!

Happy tinkering + please stay safe at home + well!

xo
elyse

PS
Follow me on Instagram at elyse.press.major and be sure to click on "chick flix" at my Stories for a giggle!


Sunday, May 3, 2020

let's make kindness rocks

Hello! I hope that everyone is doing well! The Sunday Let's Make series continues with a slight variation on a project created for use as props for my second book Seaside Tinkered Treasures.


I decorated stones and sea shells to be used for styling purposes {as shown above: Pretty Pinwheels, page 75} but on their own, they make lovely natural accents to use as vase fillers or paper weights. The project also lends itself to be used to make kindness rocks – to decorate, add an uplifting message, and leave behind for someone to find.

You will need:
Glue stick
Decoupage medium (Mod Podge)
Paper
Permanent fine point marker (Sharpie)
Rocks or stones (are they the same thing?) with one flat, smooth side
Scissors


As you may know, many of my projects begin with creating what I call "pretty paper" which is a color copy of a favorite floral fabric (say that 3x fast). You may of course use any paper with a motif you like – stationery, wrapping paper, scrapbooking paper. 

Carefully cut out the motif, and then apply to the smooth side of a stone using glue stick. If you plan to leave your finished piece outside, cover with coats of decoupage medium or clear nail polish to seal well and waterproof.


Shells works nicely, too! 


Scribble a positive message with a Sharpie and display or leave alongside a walking path.

Happy tinkering + please stay safe at home + well!

xo
elyse

*Looking for copies of my books? Please consider first checking your local independent bookstore or try Barnes & Noble before buying from a big retailer like Amazon. Shop small, buy local.